| cosam.org |
Processor box Part II
Having refitted the front panel, I noticed a bit of excessive give at the bottom just above the toggle switches. This was due to the black piece of foam behind it disintegrating and leaving a space. The panel came off again and was repaired using official, DEC-endorsed, self-adhesive draught excluder strip, which is remarkably still stocked by most hardware stores.
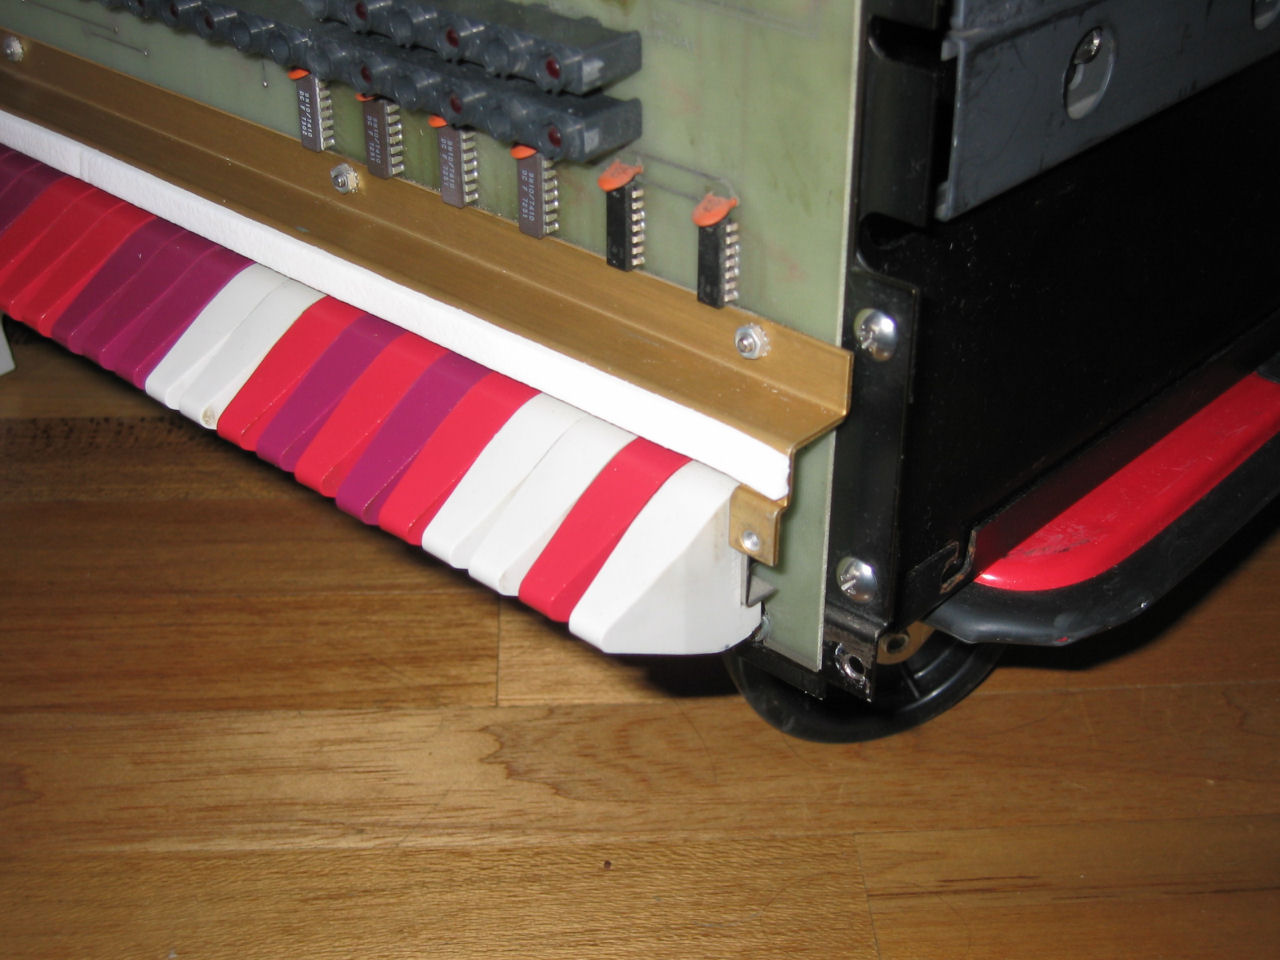 Replacement foam is the wrong colour, but it works! | 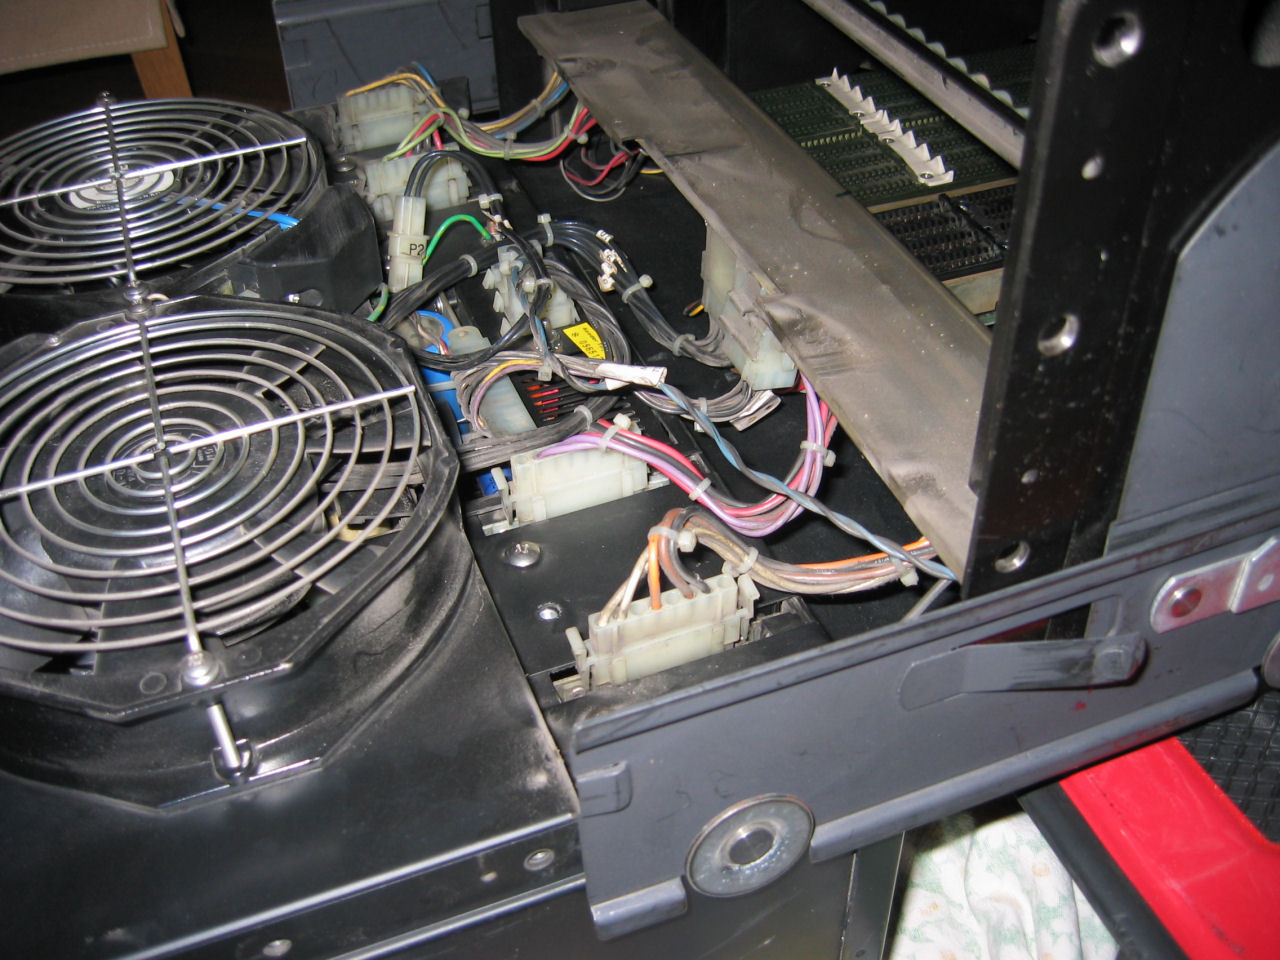 Monster PSU folds down from the back. |
Next it was time to take a look at the power supply in the back of the BA11 chassis. Taking this off, you realise why the box is so heavy... It's only held on by three screws on each side, and one on each side was even missing on this example, probably because the bottom ones are a pig to get in with the rack rails fitted. The PSU "folds" downwards from the back of the case, which I had supported on a trolley. I used a couple of phone books on the floor as spacers to protect the switch and cable on the back.
Now, many a wise soul will tell you that old power supplies like this can be rather problematic. The electrolytic capacitors can deteriorate if left unused for long peroids and can explode if power is applied without treating them properly. I however knew the system had been in use very recently and therefore decided that extensive testing and/or restoration wasn't going to be required. When it's time to power up, I'll check the outputs and see how things go. As the insides didn't look too bad, I just wiped away the loose grime and tried to "fold" the PSU back into place... I soon realised that would be a two-man job; due to the sheer weight you'd need someone to pick it up and someone else to refit the screws. Seeing as I needed to get at the bottom of the case anyway, I took the easier route of folding the (considerably lighter) backplane/front panel assembly on top of the PSU instead.
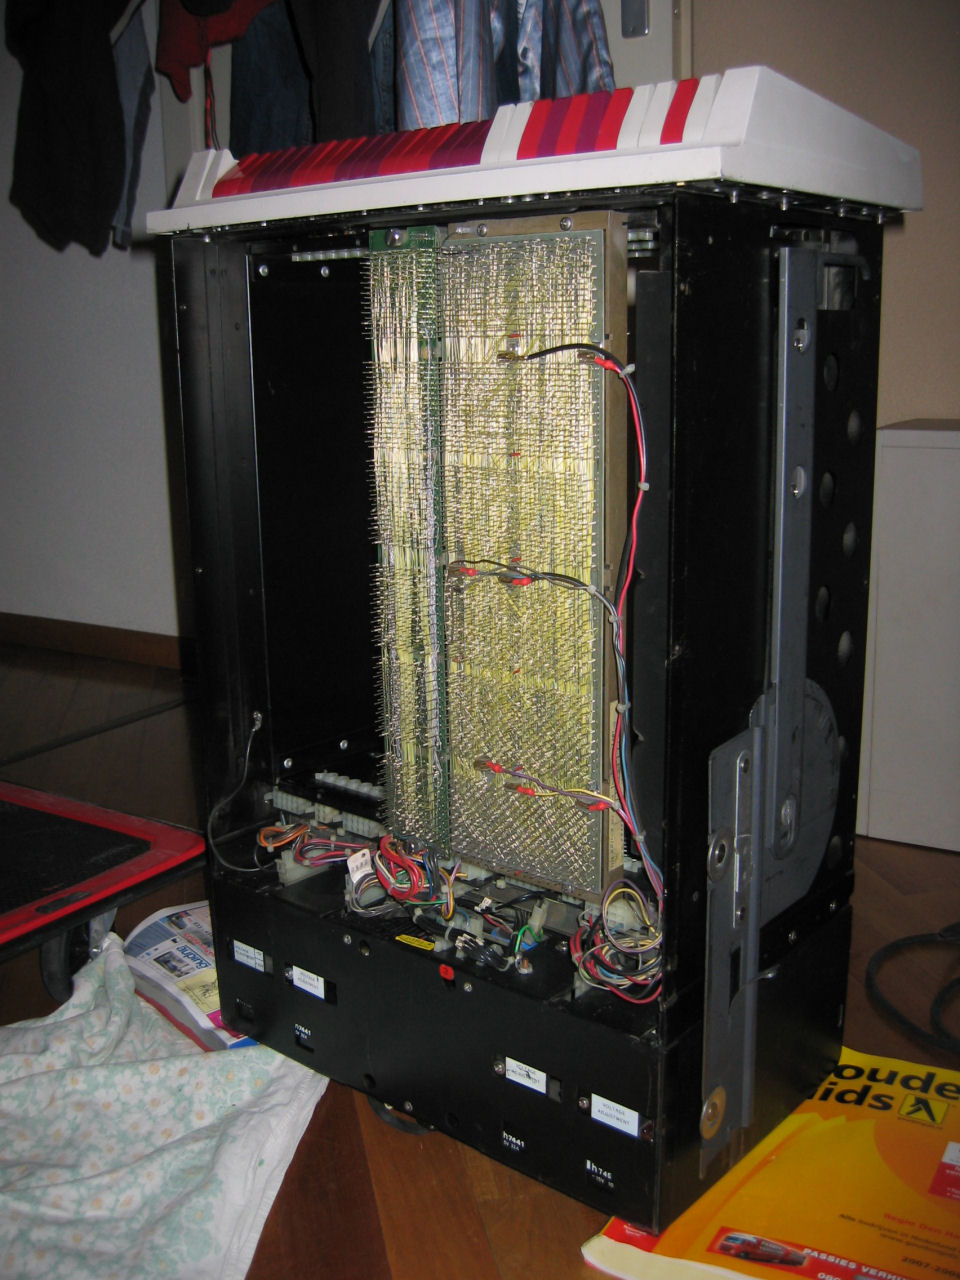 The glorious wire-wrapped backplanes. | 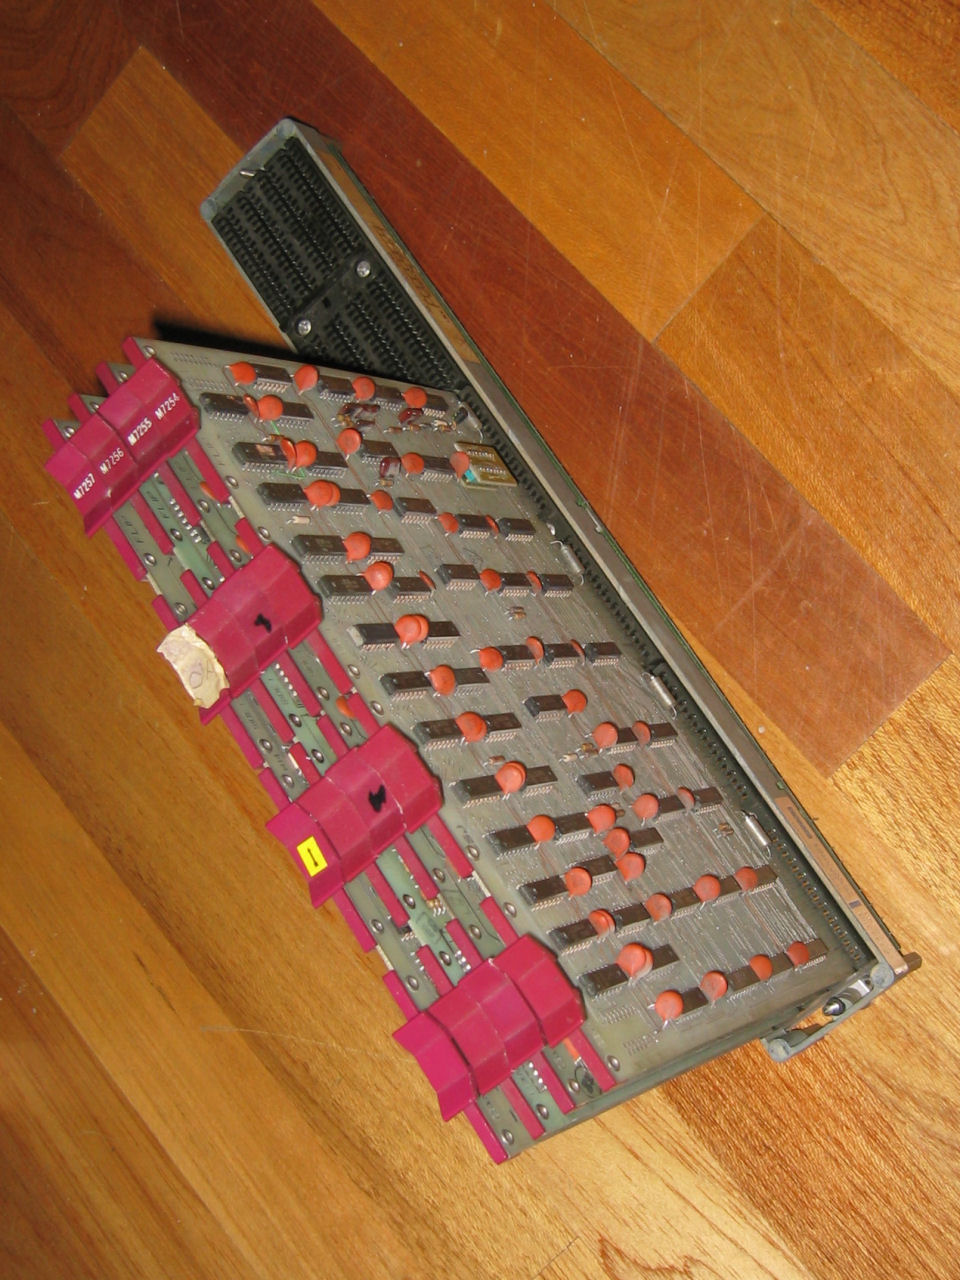 RK11 in its own little backplane. |
With the chassis upright and the bottom off, the wire-wrapped side of the backplanes was exposed, so I could check for any bent pins. I also took the opportunity to fit the RK11 controller's backplane, which had arrived separately. The key to getting this the right way round is the little protrusions on the edge connectors, which should line up with those on the other backplanes. Unforunately I'm missing the power harness so I'll have to scrounge one of those somehow. I then refitted the bottom of the case and returned the whole lot to the trolley its living on right now.
Next: Initial Power-up >>
![]()
![]()
![]()
![]()