| cosam.org |
Processor box Part I
First job was to take inventory of what was plugged into the system box and where. I made a list of all modules installed (see the main page) and took plenty of photos of where they were plugged in and where (and which way round!) all cables were connected.
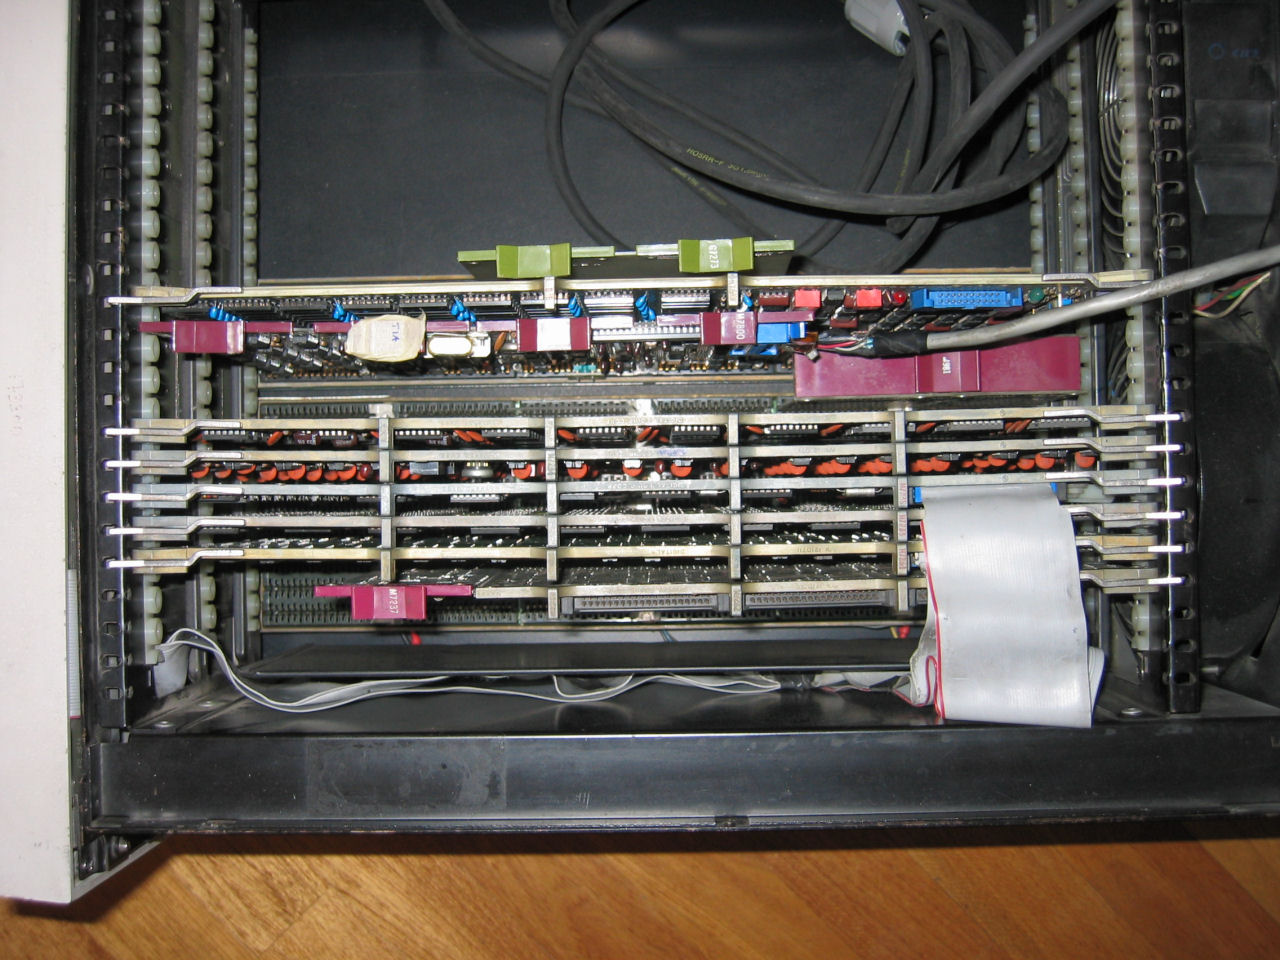 I took a good few shots like this... | 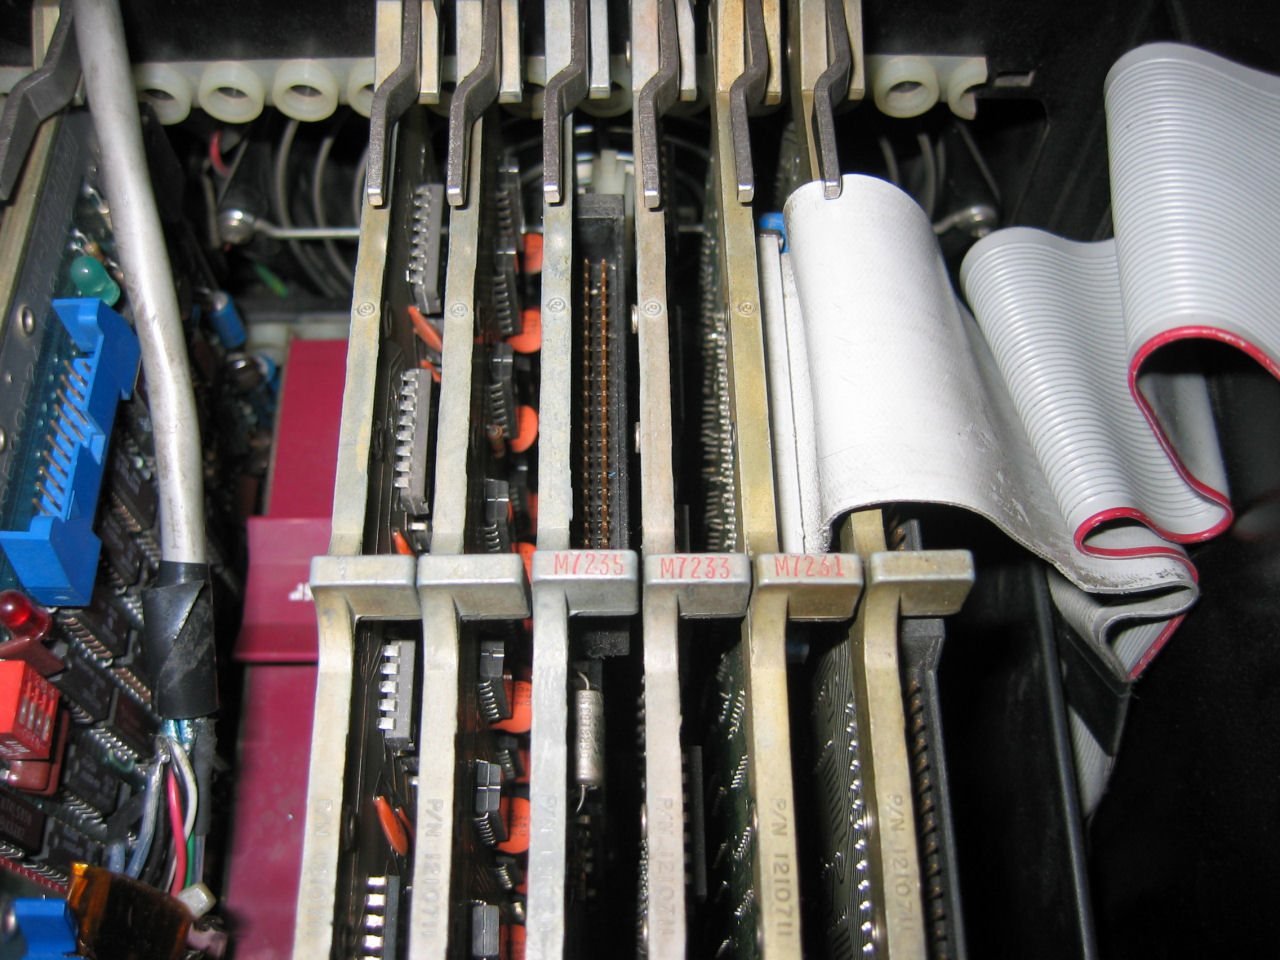 ...and plenty of close-ups where required. |
Having recorded all the modules' positions, I pulled all the cards to check them over visually and took the opportunity to free the box of the grime and dust that inevitably builds up over the years. The front panel was also partially disassembled to give it a thorough wipe over. One of the white "fake switches" was loose due to half of its mounting stem being broken off. A quick drill out and a longer screw had it fitted firmly to the panel again. A rather obtrusive sticker was removed from the panel and, despite softening the adhesive gently with a hair dryer, had already coaxed a little paint off (visible as slightly shiny areas above the address indicator lamps).
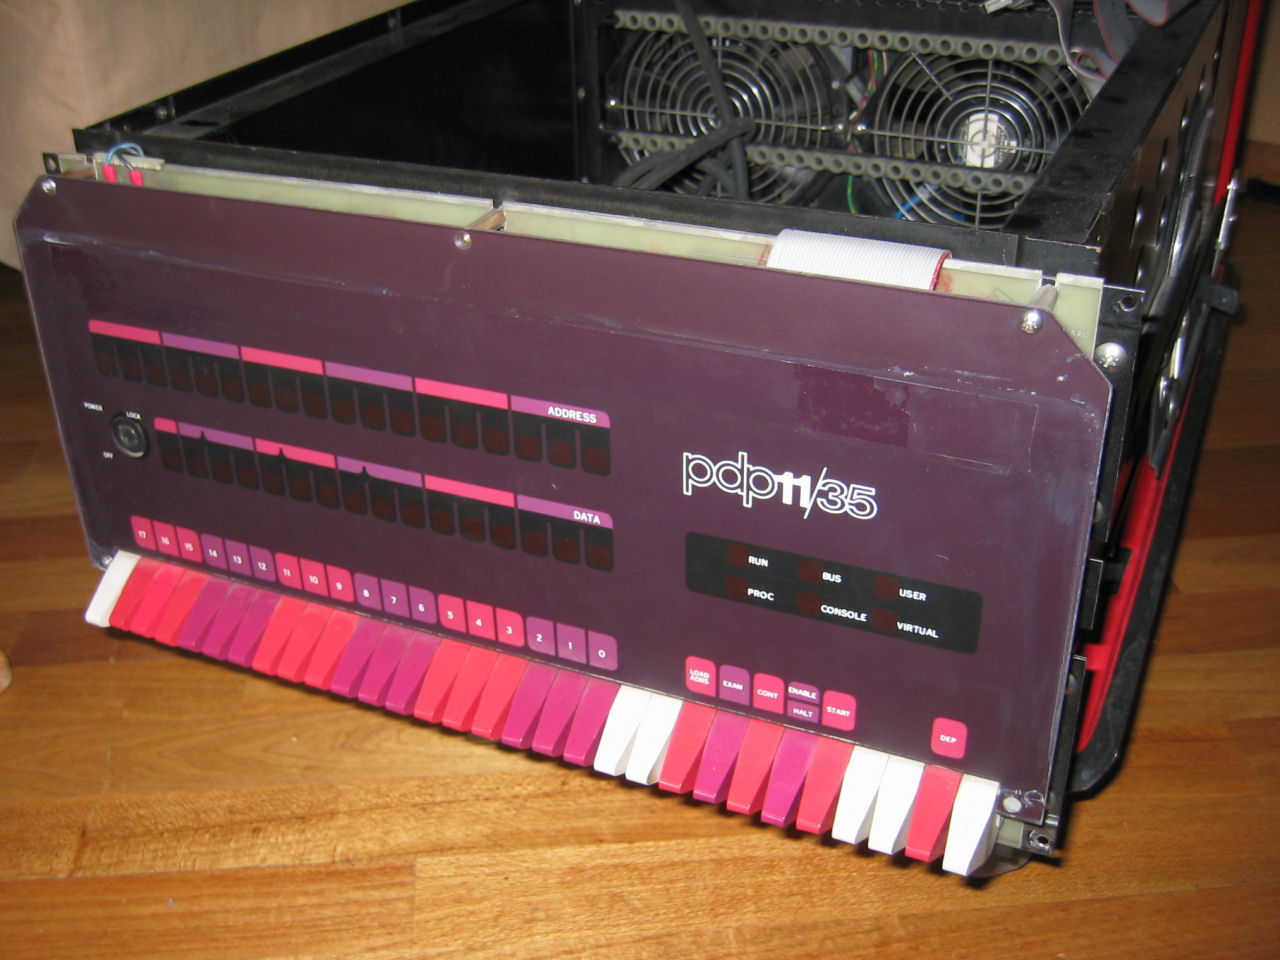 The bezel was removed... | 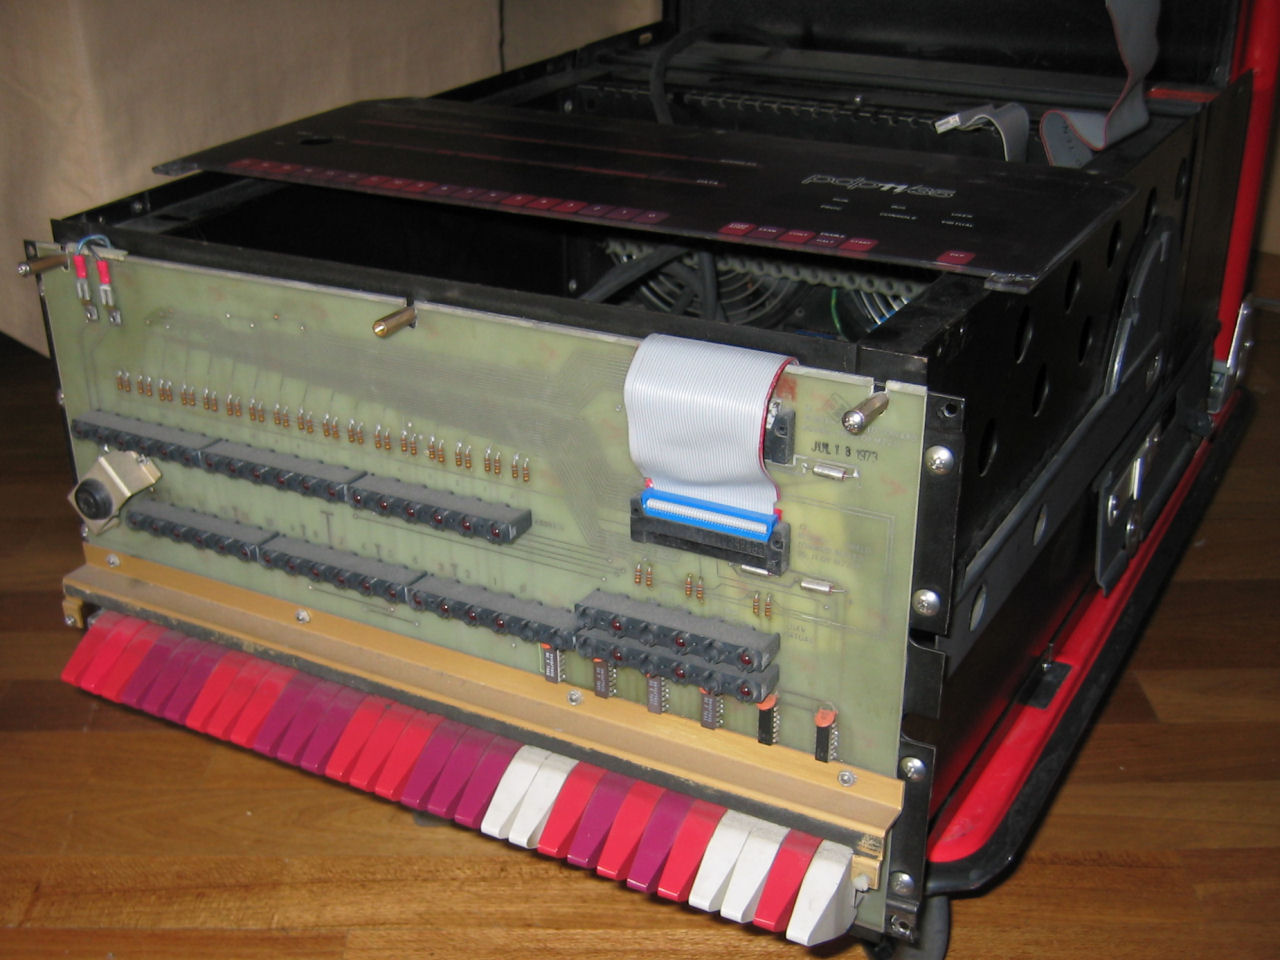 ...then the panel itself. |
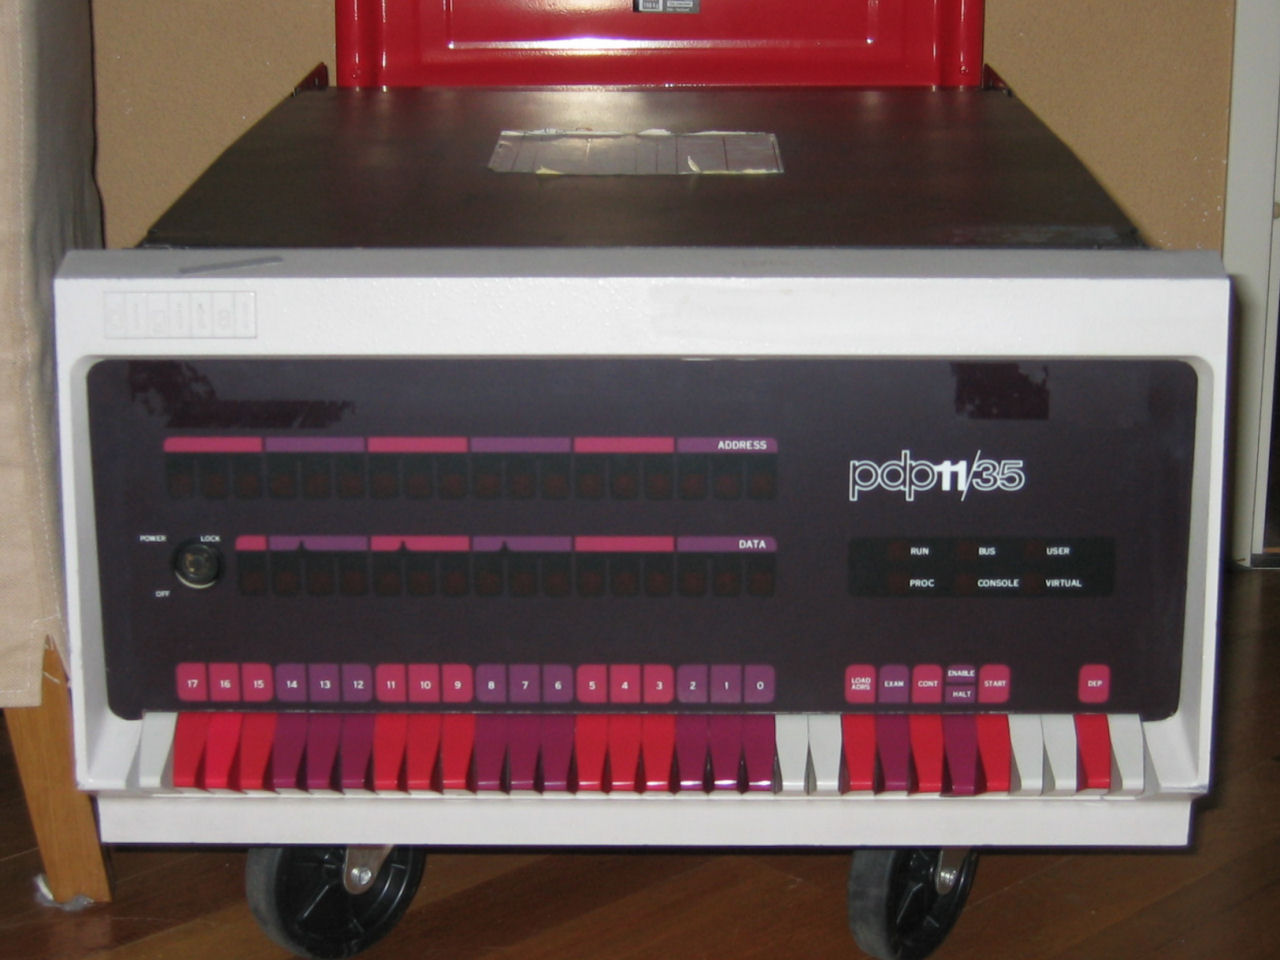 A shot of the cleaned-up panel. |
Next: Processor box Part II >>
![]()
![]()
![]()
![]()