| cosam.org |
PCB Examination
The machine powered on, but then displayed random charaters all over the screen - briefly. After a second or two, all went dark. The "garbage" screen is a common PET problem, but I later learned that it was normal for this to occur just after the computer is switched on. The blank screen was however a worry. Sometimes reseating the socketed chips is enough to get things back in shape. No such luck this time, so I whipped out the board for a closer look. I certainly wasn't the first to do so!
The underside of the board had a few not-so-neat repairs. It looks like a track had been cut in several places whilst diagnosing a problem with the rectifier diodes and a voltage regulator, both of which have been replaced. There are also a few IC replacements, given away by their sockets and a fair coating of soldering rosin on the pins. I figured I'd better tidy these bits up before trying to diagnose the problem further.
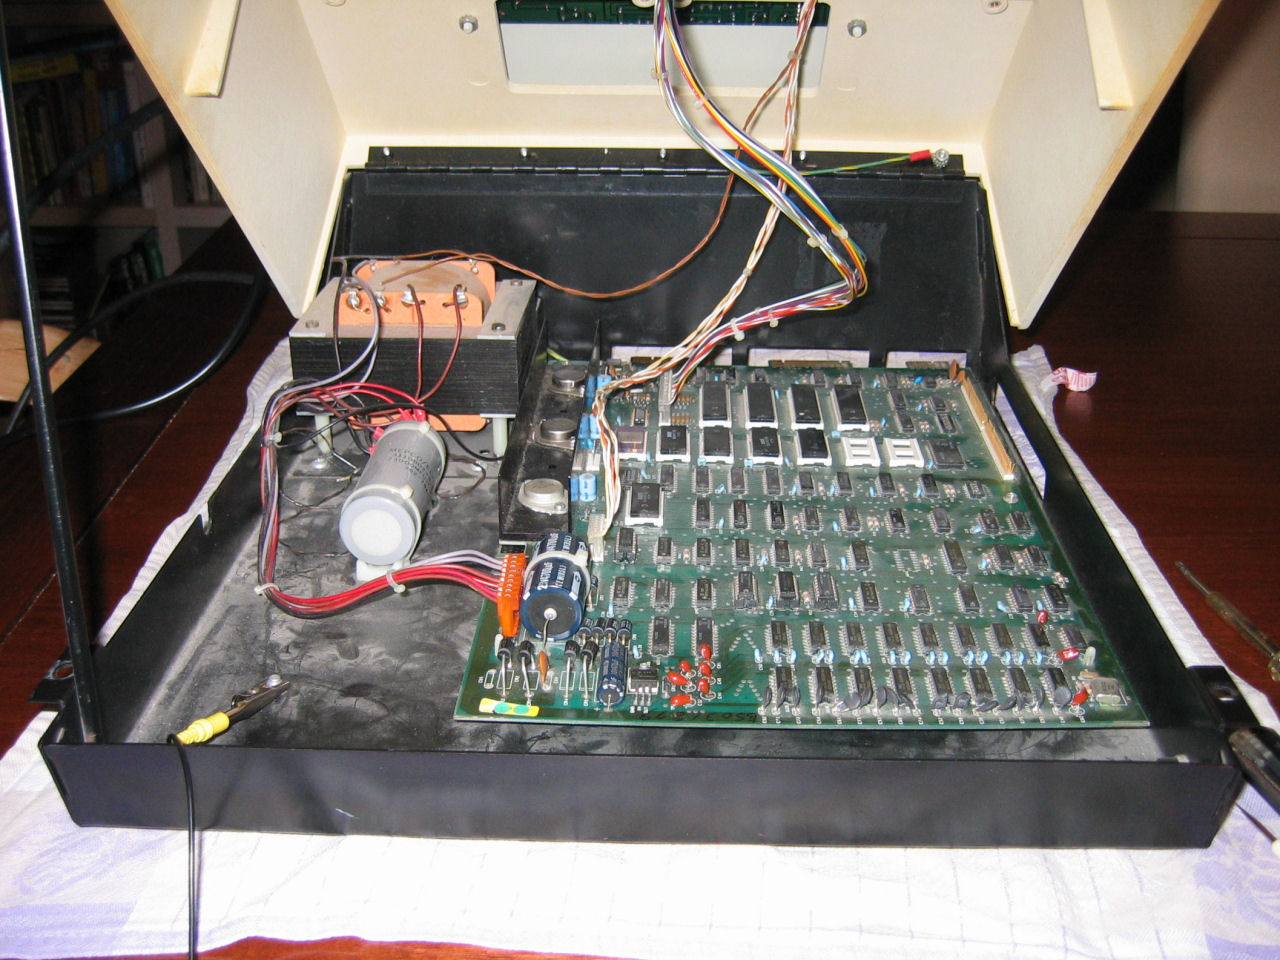 PET's lid lifts up just like a car bonnet. | 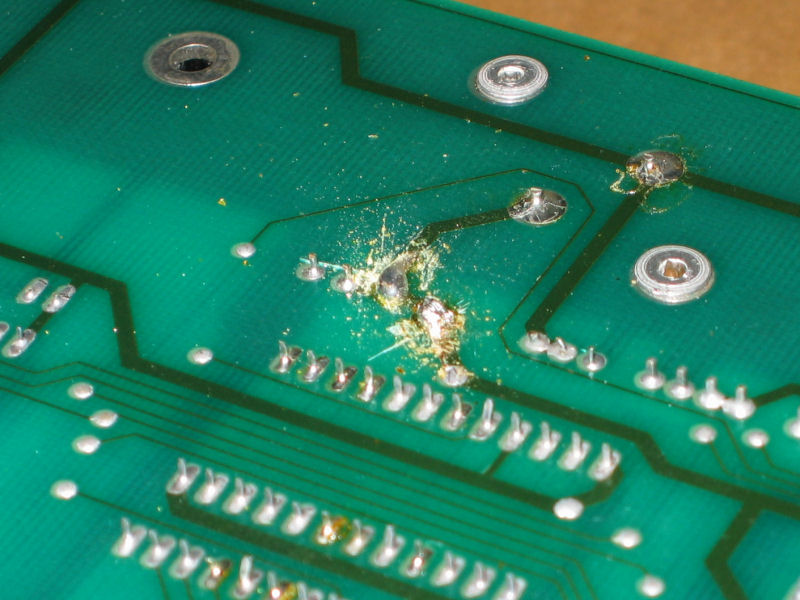 Bottom of the board had a few bits like this... |
 Someone had had a good dig at some of the tracks. | 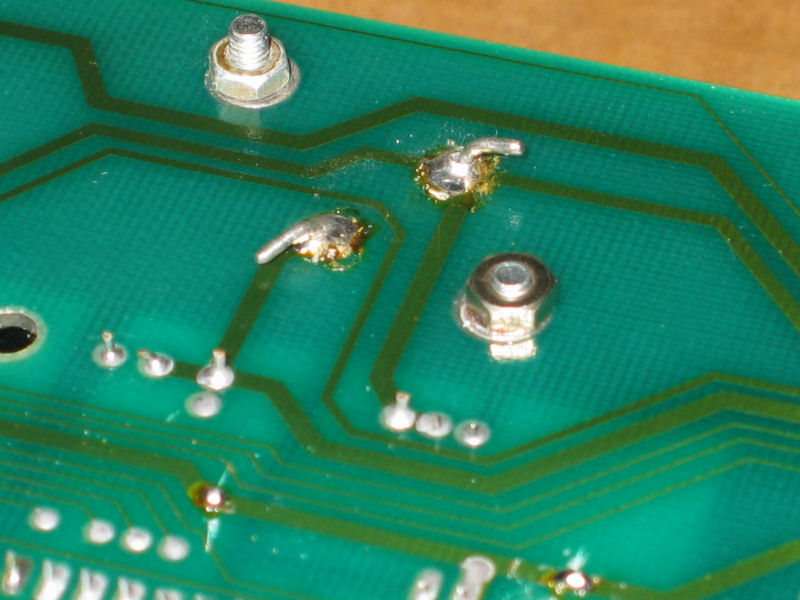 Voltage regulator seemed to be soldered with thin air. |
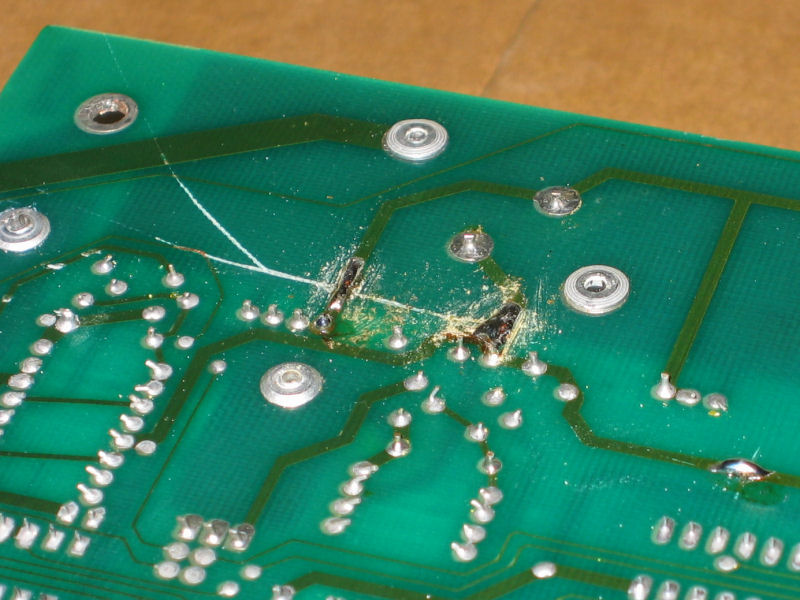
The rectifier diodes were particularly bad. I wondered what the big blobs of solder were for, until I removed them and found they were covering a broken PCB trace. The diode's legs were joined together to bridge the gap!
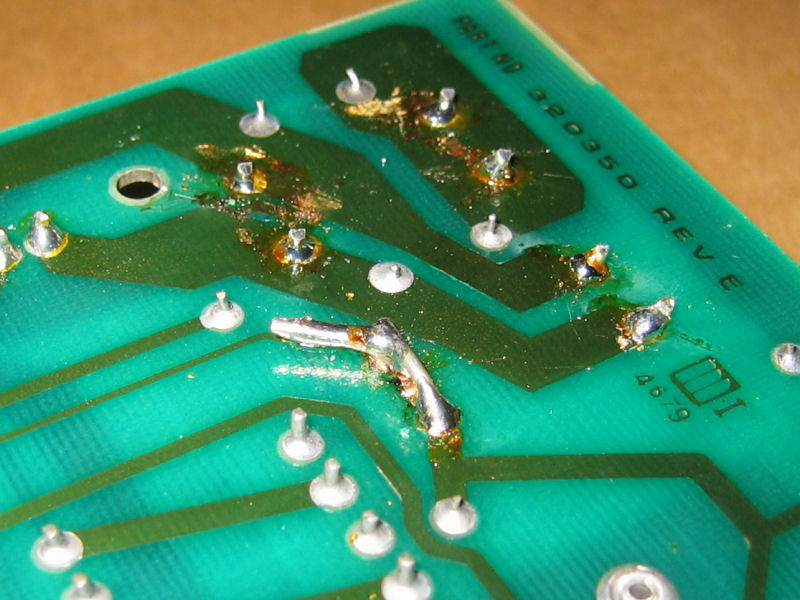 New rectifier diodes were begging to be resoldered. | 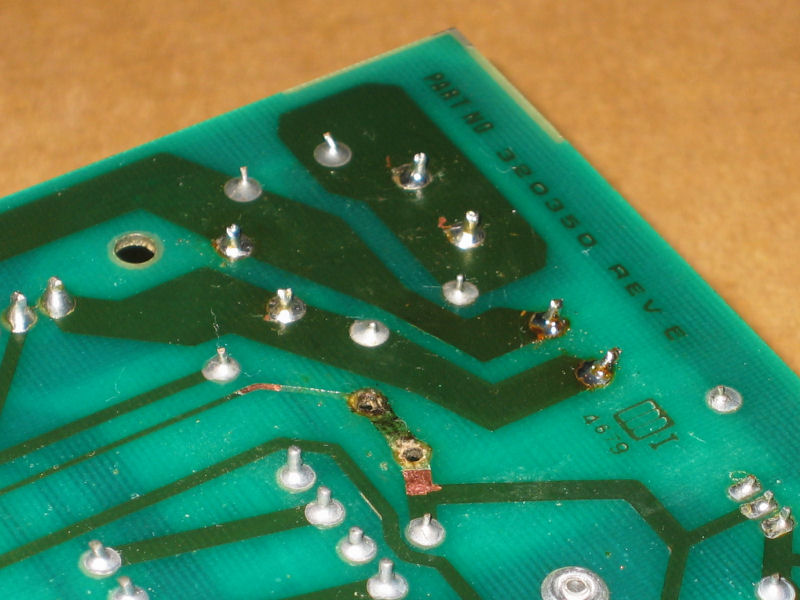 Same area, partially resoldered and cleaned up ready for track repair. |
Next: ROM Verification >>
![]()
![]()
![]()
![]()