| cosam.org |
Commodore 8050
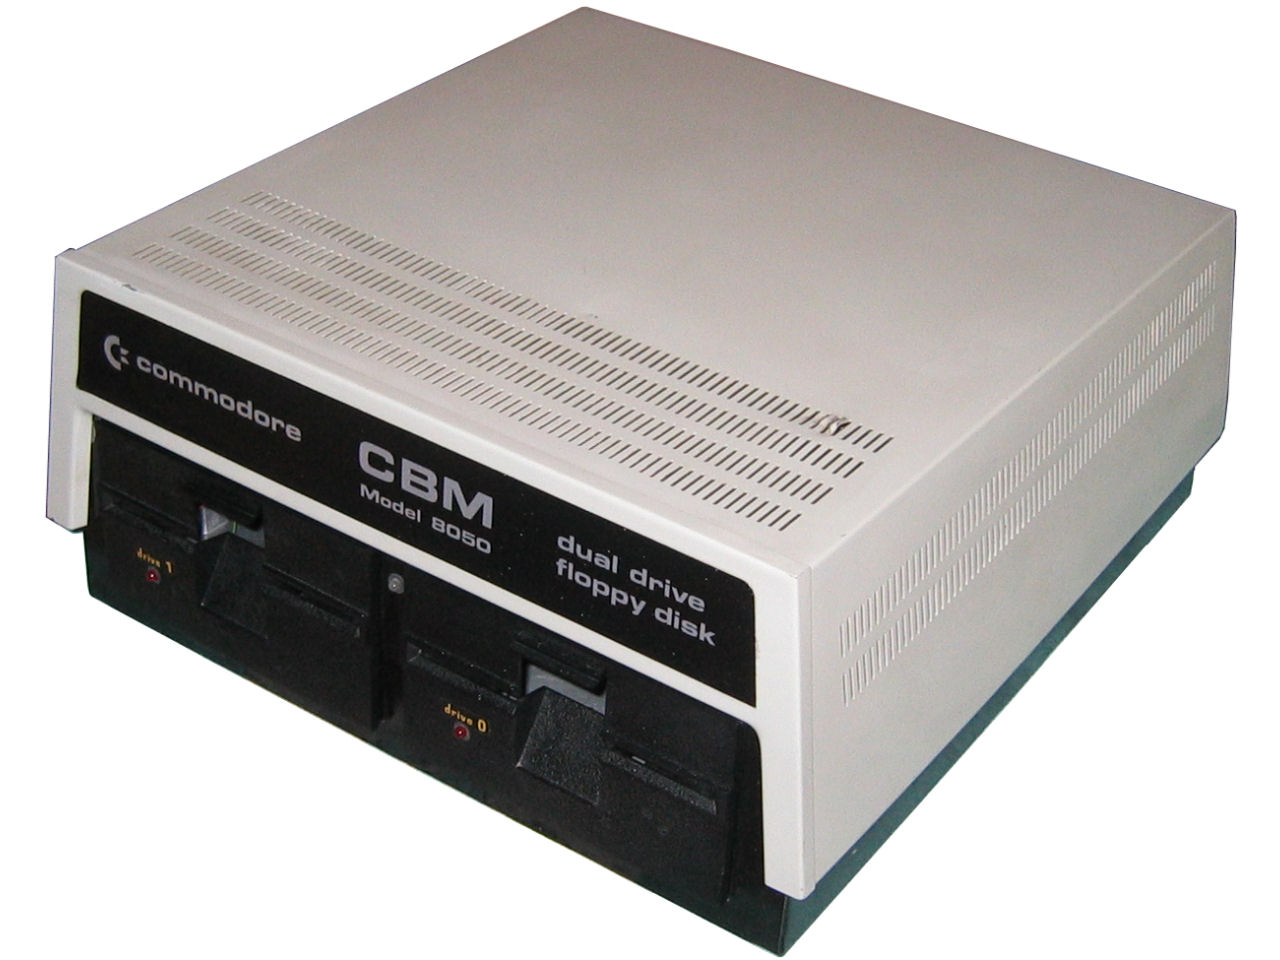
I came across this Model 8050 dual disk drive when sourcing replacement parts for my PET 2001N. This is the single-sided version of the otherwise very similar 8250 5.25" drives. These "smart" drives contain their own microprocessor and talk to their host via an IEEE-488 interface.
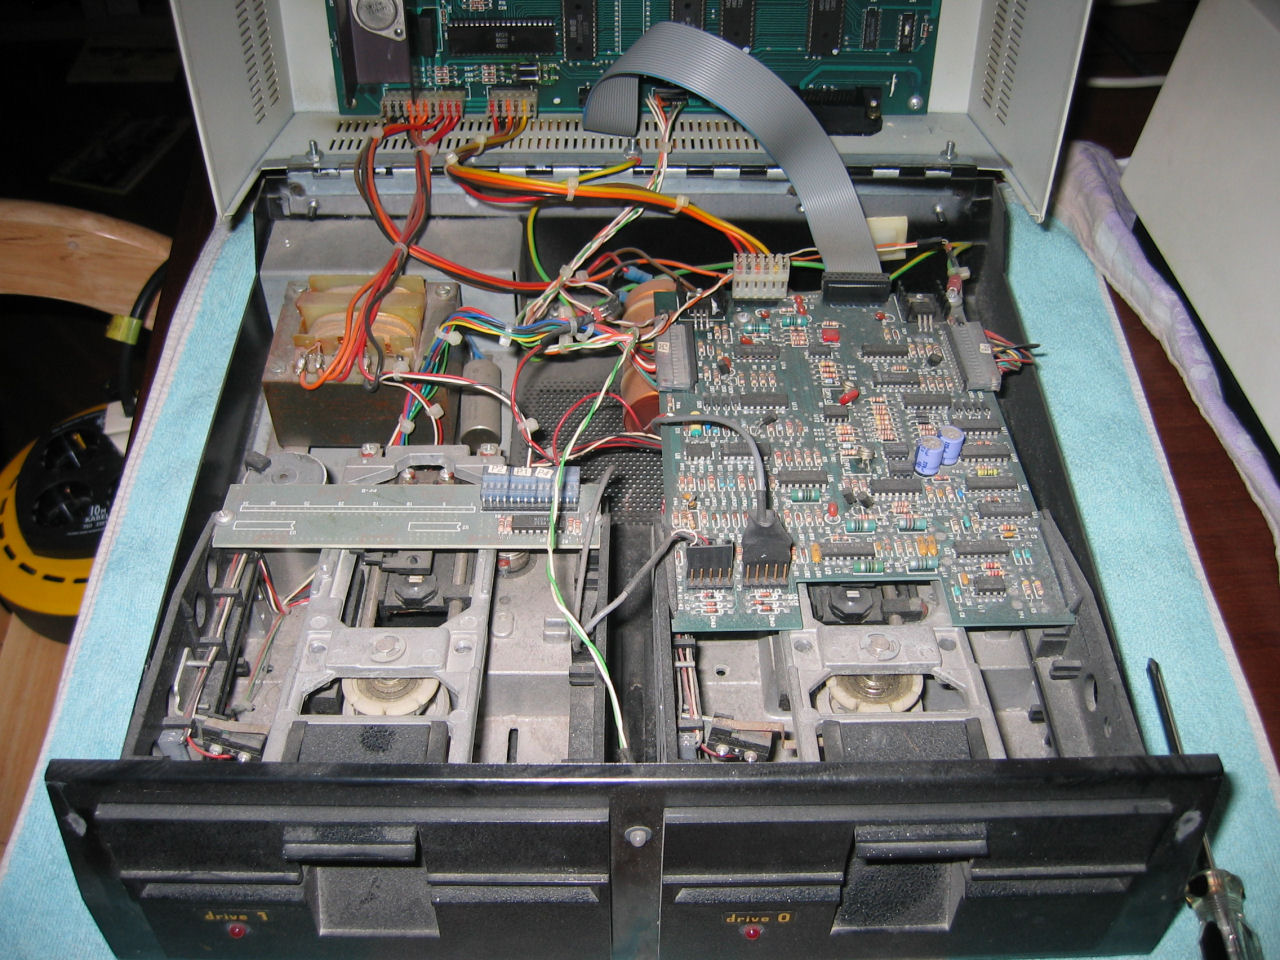
When powered up, the on-board diagnositics showed all was well by means of a green LED on the front panel. I thought I'd have a check inside the box before trying any disks, and I'm glad I did! The insides of both drive units were pretty filthy, and I doubt it'd have read or written disks with any reliability.
First job was to remove the drive units themseleves. The case opens after removing one screw on each of the side panels. There are a lot of wires and connectors under there, so do yourself a favour and photograph or note what goes where. The two PCBs attached to the drives have two screws a piece. The larger of the two took a bit of gentle persuasion to come out of its plastic runners. With the whole thing turned on its side, you can then support a drive unit with one hand whilst loosening the four screws on the underside to free it. The units then pull out from the front.
 Under the layer of grime, all looked to be present and correct. | 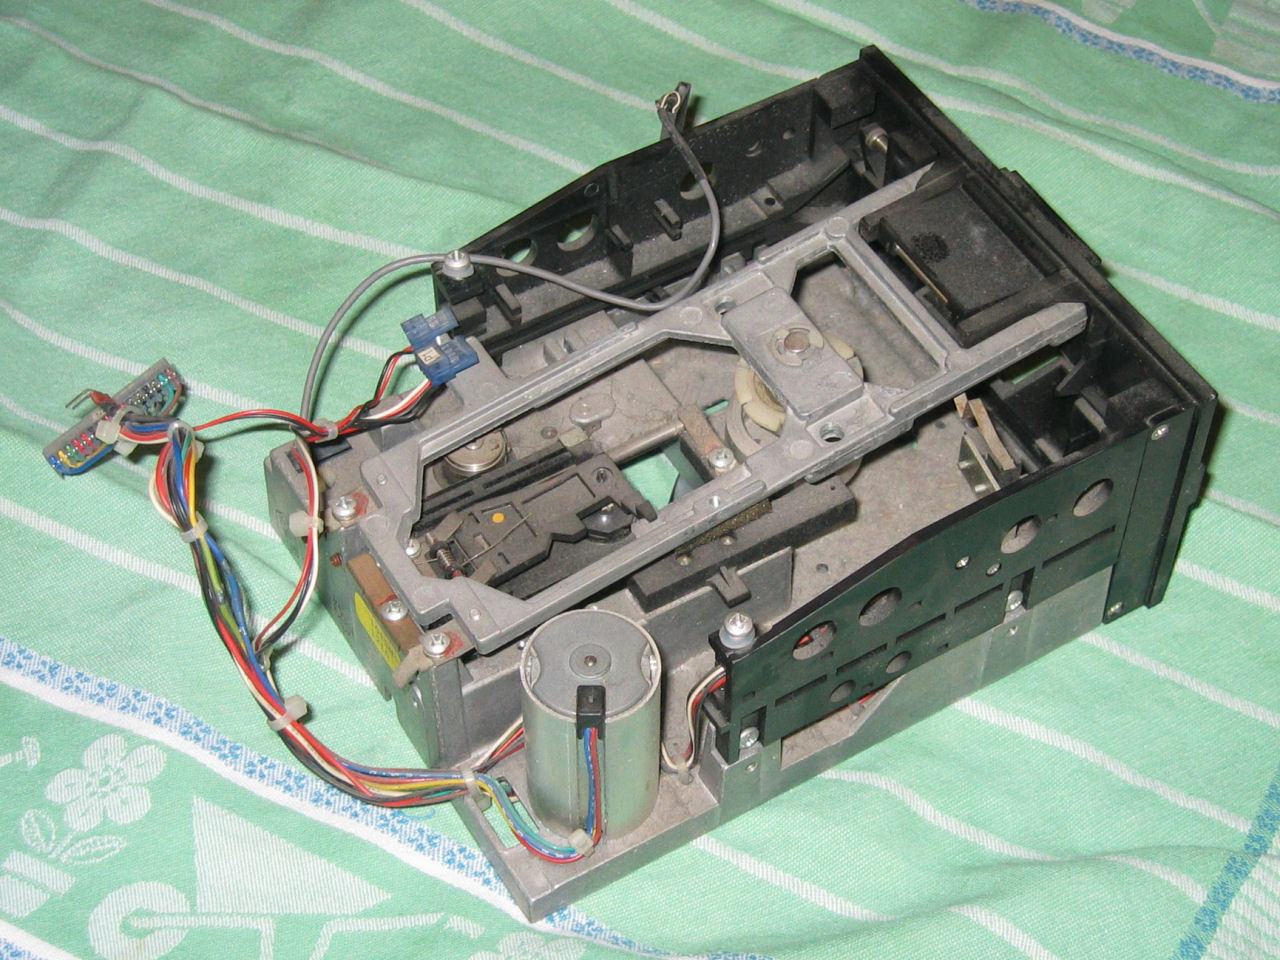 One of the drive units removed for cleaning. |
To thoroughly clean the drives, I removed all the plastic panels. When removing the front, be sure to unplug the LED's cable. Other wires are clipped into the side panels and need to be freed before the panel will come away. This involves snipping two plastic cable ties which poke through the metal base of the unit. The last part I removed was the lever which clamps the disk into position when closing the drive. On these single-sided drives, this supports a spring-loaded "fake head" - on a double-sided drive there'd of course be another head there. Watch that this doesn't smash down on the heads below! I didn't want to remove any of the other parts in case it would interfere with the drive's alignment. It's a good idea to do one drive at a time - if you can't work out how it goes back together, you always have the other for reference!
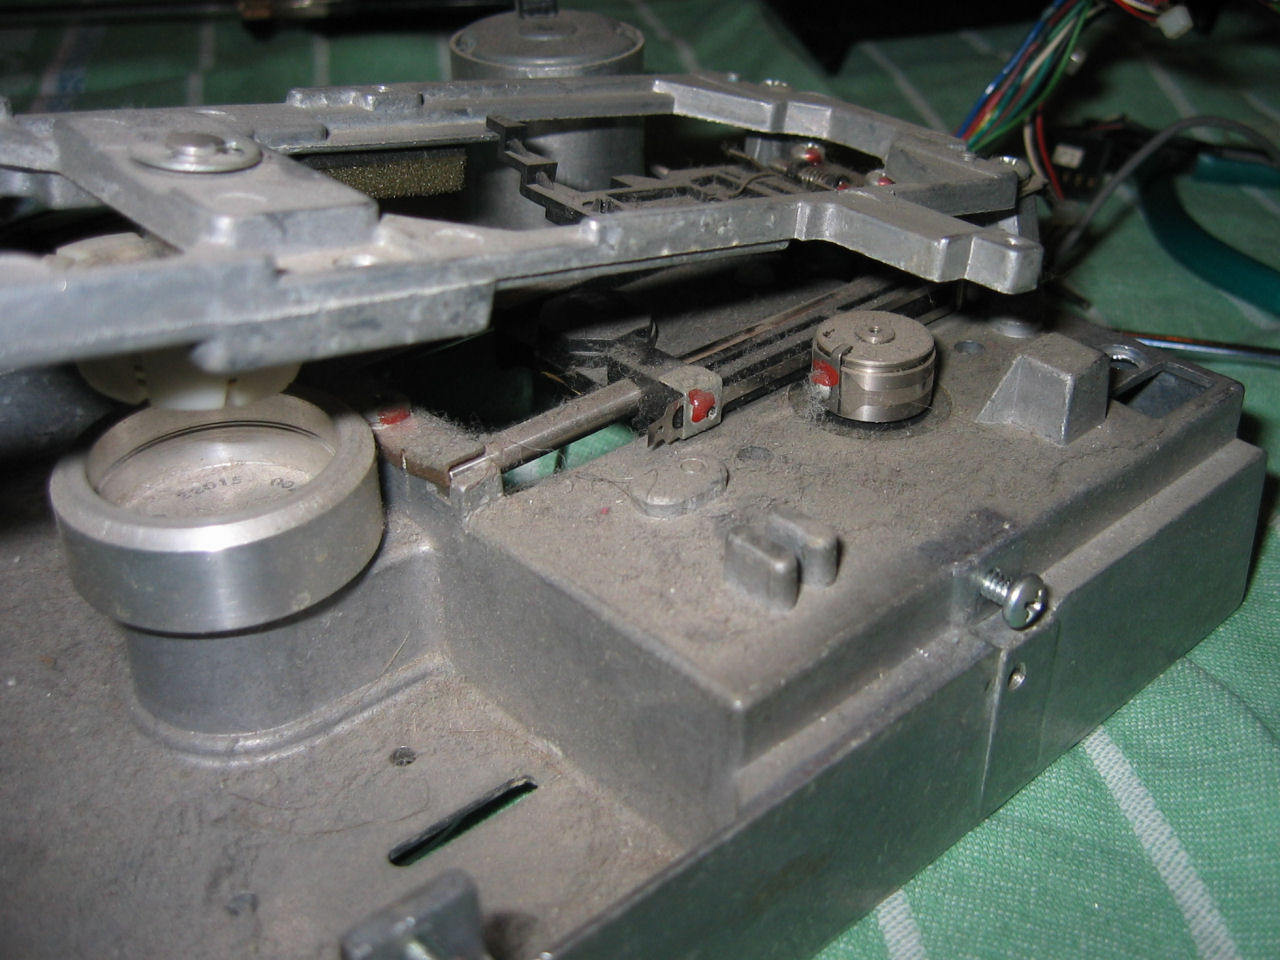 Is this what they mean by a 'scuzzy' drive? ;-) | 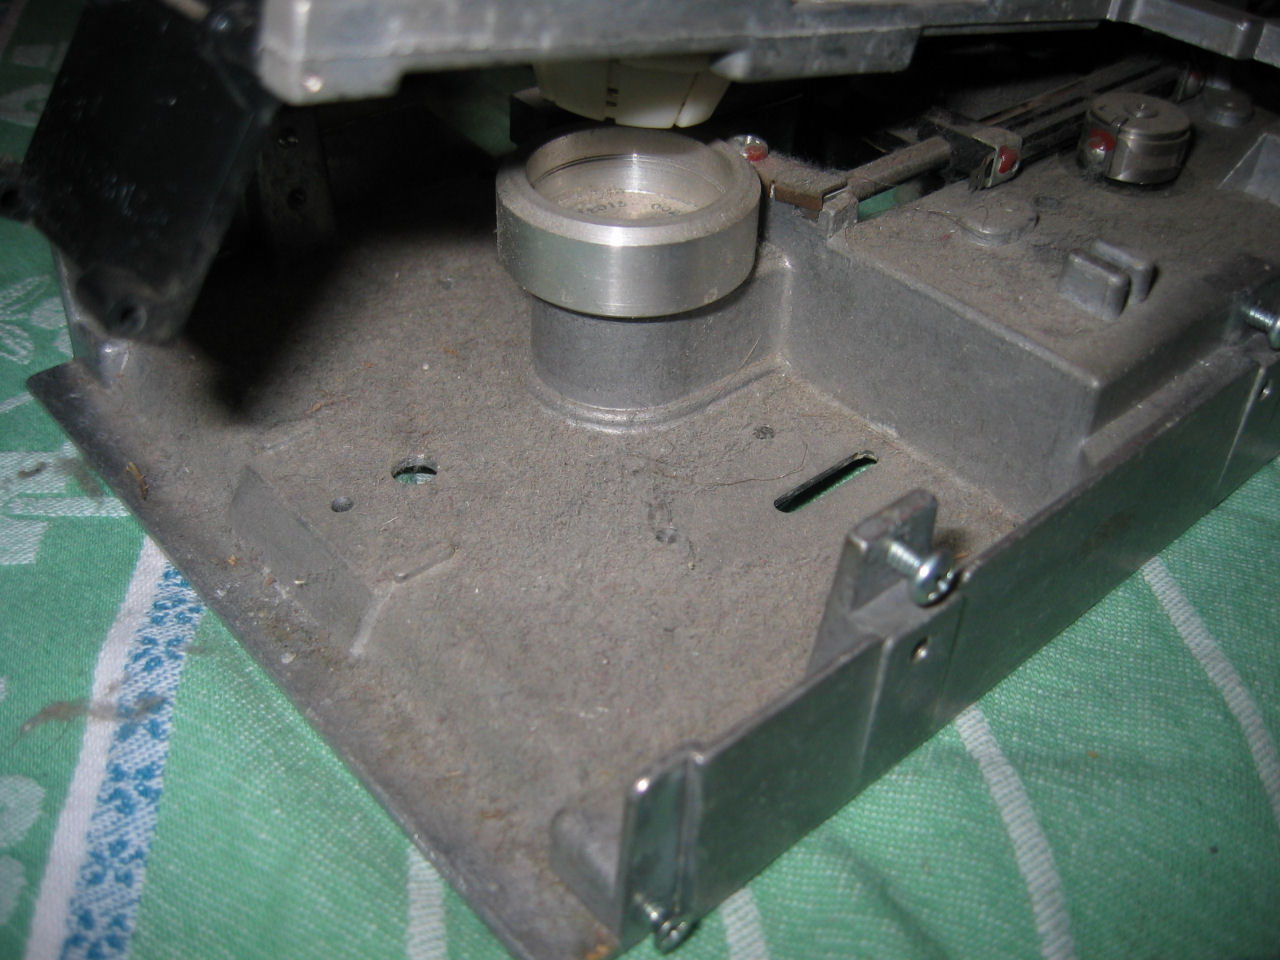 The dust bunnies seemed to have been multiplying like... well, bunnies. |
Cleaning up is pretty straight-forward, if a bit fiddly. I used regular household cleaner on the plastic parts and a bit of alcohol for the heads and more stubborn grime. I also dismantled the upper spindle assembly to clean and grease it. There's a big spring under there, so take care not to lose any of the tiny washers when undoing the E-clip on the top.
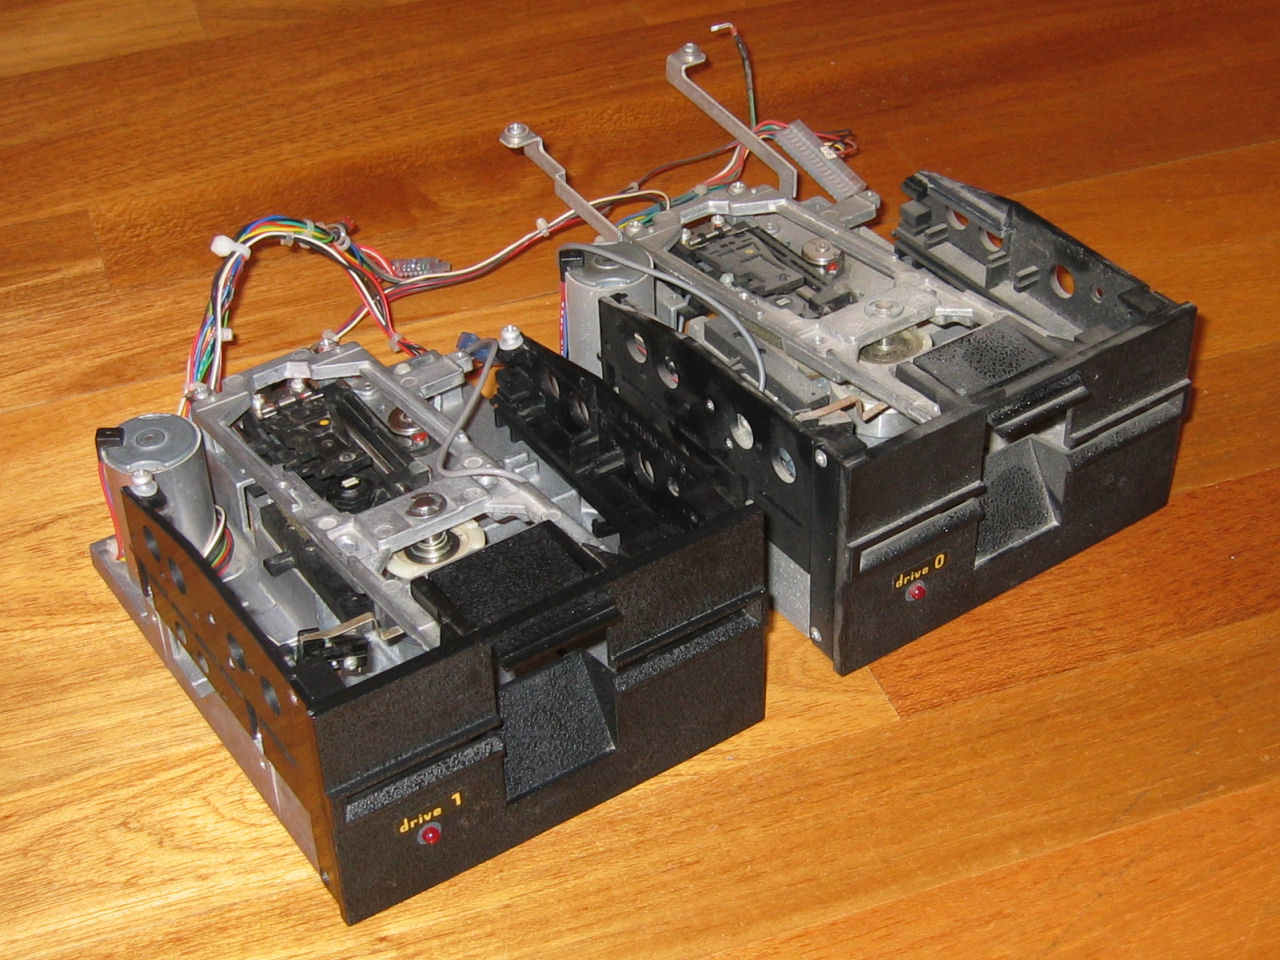 One clean and one not-so-clean drive unit. | 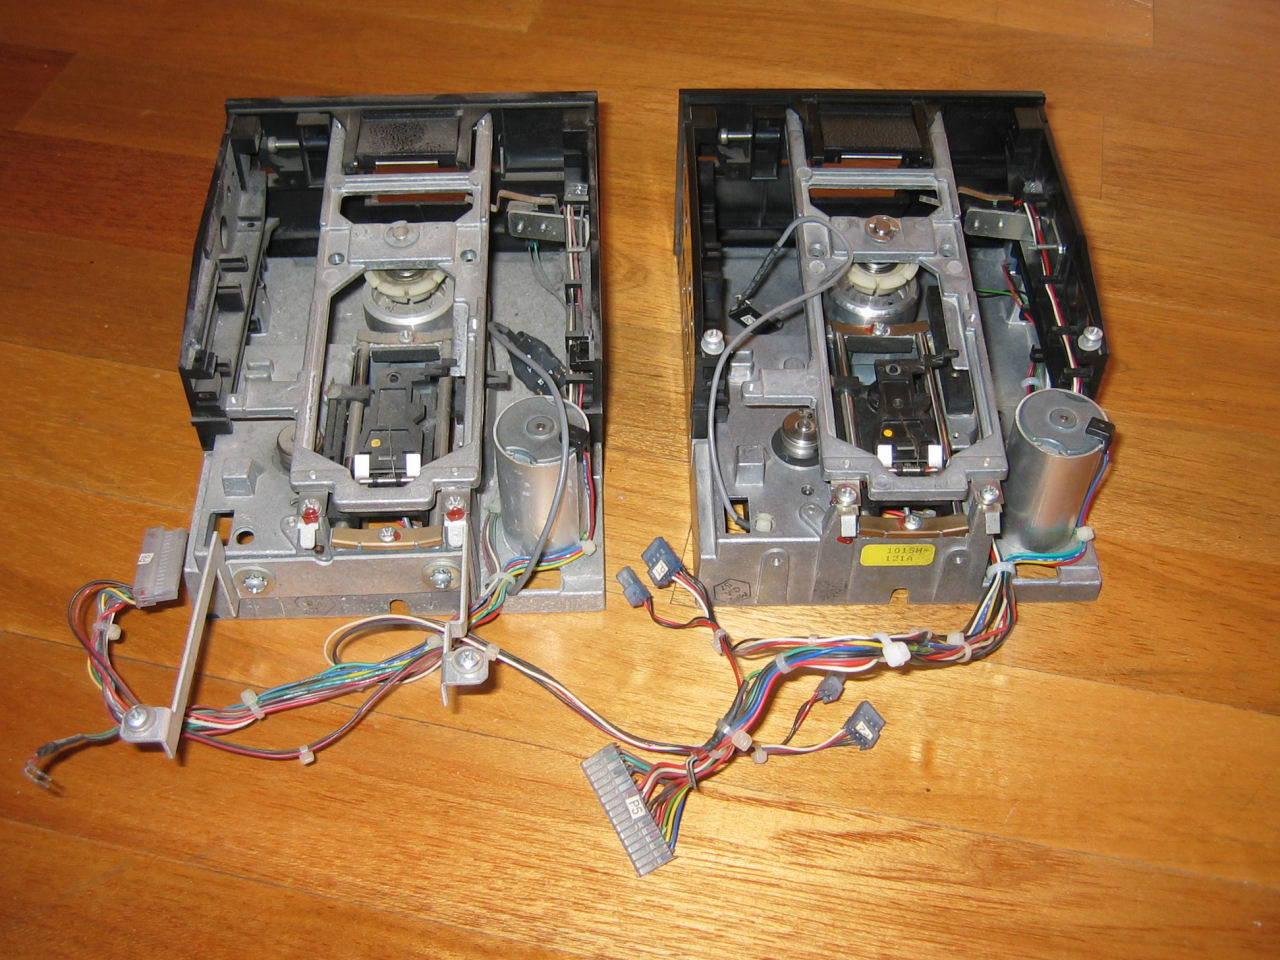 From the back, the difference is more noticable. |
Reassembly is pretty much the reverse of the above. Replace the plastic cable ties, but watch that they don't interfere with the drive belt under the drive. I lubricated the drive rails with sewing machine oil and put a dab of grease on the rod and runners in the front clamp/clip assembly to enure a nice smooth action. A quick wipe around the case, and the drives could be put back in place.
![]()
![]()
![]()
![]()